
PUL Fabric is widely available at fabric stores - I bought this great monkey print at Joann Fabrics. It also comes in a variety of really cute prints. It's often used for diaper covers and re-useable diapers. Usually in the "baby" section of the store.
I thought maybe you'd like to see the process of working with this sorta-tricky fabric and our cute Cheryl-inspired bibs.

This is PUL fabric. The front side is soft - a stretchy knit fabric. The back side is slick and plastic-ey. Because of that polyeurethane coating, it can be tricky to sew on. I recommend a microtex (sharp) needle that isn't too big, maybe a size 75/11 or so.

Here is a template that I based on Cheryl's original bib. It's plenty long and wide, so that it provides lots of coverage. You can click here to download a printable pdf of this pattern. You'll have to print it on three pieces of paper, then cut them out and tape them together, matching up the orientation line that runs across the center of the bib template on each page. Make sure you have your print settings for No Scaling or 100% shrink. If you want, you can transfer the template to a more rigid substance. Mine is an old manilla file folder.


Lay your PUL fabric upside down, because it's easier to see markings on the solid back than the printed front. Use a Sharpie to mark on the slick surface and trace around the template. This bib is about 15" long from top to bottom, and the pocket at the bottom is about 3" tall, which means it works out nicely if you get a 1/2 yard of fabric. I put little tick marks on the sides of the bib template, to show me where the pocket should begin. Actually I put the tick marks about 4" up on the bib template. If the employee who cuts your fabric is a little generous, then you can squeeze a little bit deeper pocket out of the width. To trace the pocket, I just lay my template on the cut edge of the fabric and try to eye-ball it, making it as even as possible on the two sides of the template. In the photo above, there was a little less than 4" of extra fabric after tracing the full bib, so I just made sure both tick marks on the template were equally hanging off the edge of the fabric.

This fabric was 64" wide, so by alternating the template end for end, I had the perfect yardage to cut out 6 bibs. It was $15/yd, which isn't cheap, but I used a 40% off coupon, so that made each bib less than $2, by the time it was all said and done.

Next, cut out each piece. Cut just inside your lines, and you won't see your permanent marker on the bib. Of course, you can use scissors, but I thought I'd see what I could do with my rotary cutter. I just tried to be careful and closed one eye, and it was a total zip!

Next transfer your pocket marks onto the edge of the bib with just a small dot. I just laid the template on top of the fabric and then skootched it over just a hair to give me room to make the dot. This will help you line up the pocket to ensure it gets attached to the bib squarely.


Now we move to the sewing machine. I wrote down the settings that work for my machine. Zigzag stitch that is 3.5 wide and 0.60 long. Now, the tricky thing about PUL fabric is that my machine has a tendency to want to push the fabric down into the bobbin housing. The needle sometimes has a hard time piercing through that plastic-like coating, so it just pushes it down, and be careful, because this can get your feed dogs hung up and make a HUGE bump of thread. To help counteract, I used a piece of leftover tissue paper from a gift bag and just laid it under the PUL fabric. I've also used wax paper on top of the PUL fabric. I don't know that above or below makes a difference. Either way, it gives some stiffness to the fabric and keeps it from getting stuffed down that little needle hole.
 First, zig zag along the straight edge of the pocket. Align your needle so that it comes down just off the edge of the fabric when it comes down to the right.
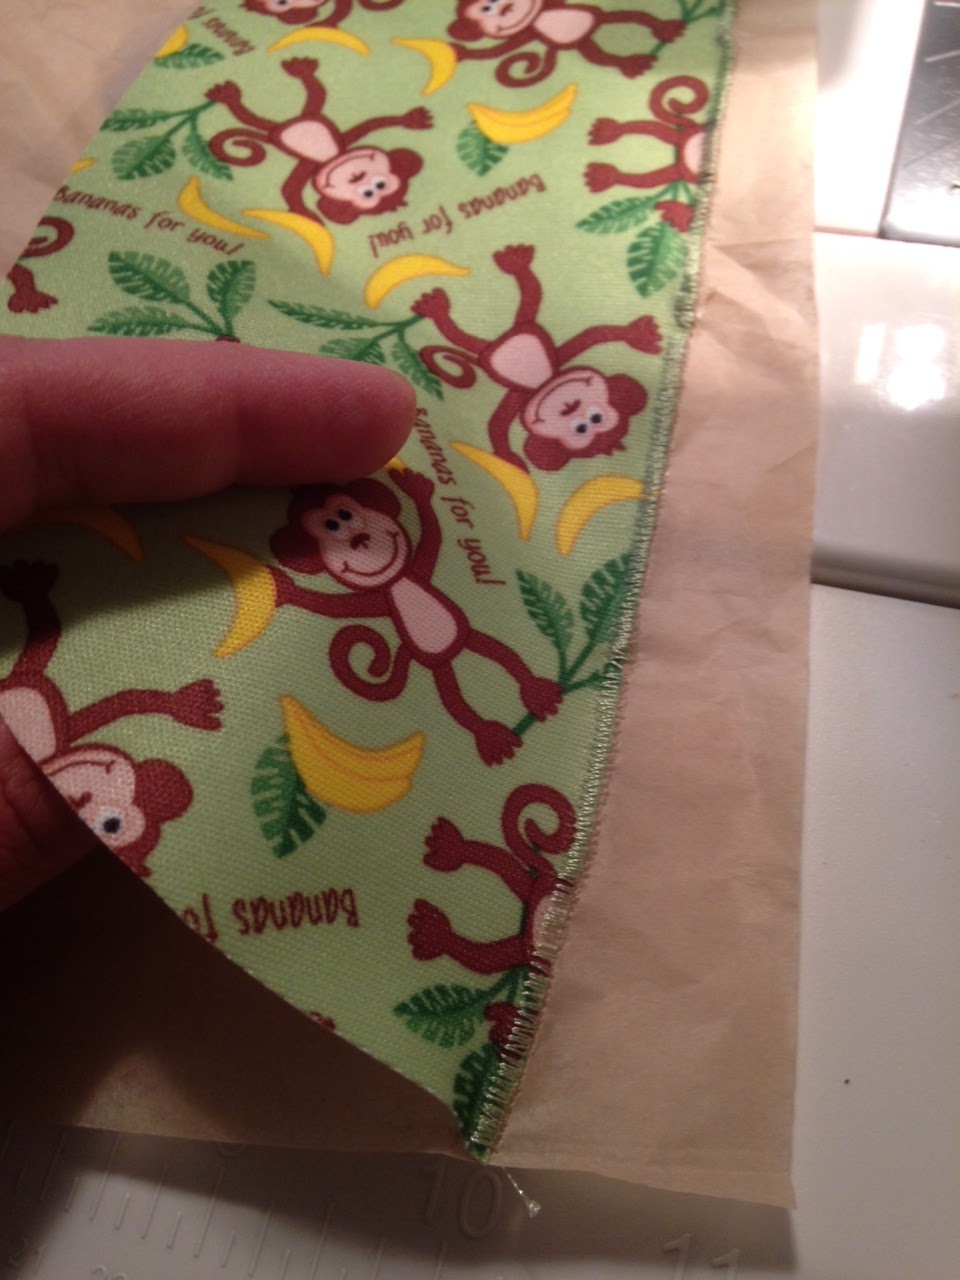
You'll end up sewing the fabric right to the paper, but don't worry. When you've gone across that straight edge, just tear the paper off. It's easy, because your needle made ideal perforations in the tissue paper!


Next, line up the raw edges of the curved side of the pocket with the bib itself, using the little dots to get it aligned nicely. Then pin in place. I often take shortcuts when it comes to pinning, but not with this. This PUL fabric is a knit, so it's very stretchy. I've had times when I went around the length of the pocket and realized afterward that things had gotten WAY outta whack!
 You don't need to use tissue/wax paper when you have the two layers together. They provide enough rigidity when used in tandem. Make sure to keep as much of your zigzig stitch ON the fabric as possible. You are using this stitch to attach the two layers to each other. GENTLY guide the fabric around the curve as it feeds through the machine. Beware of stretching!
When you've reached the other end of the pocket, stop with your needle down on the left stroke so that it holds the bib in place, then lift your presser foot, and tuck some tissue/wax paper in there again. Then proceed the rest of the way around the bib until you reach the point at which you started.

Once you're all the way around, just rip off the paper. I don't try to get too crazy with this. You can see there are little scraps that I didn't worry about tearing away. They'll just pulp up and disappear in a few washings and dryings.

Now we attach velcro to the neck. I usually cut the fuzzy (loop) side of the velcro (my finger is pointing at it in the photo) two or three times as long as the scratchy (hook) side, so that it can make the neck hole smaller or bigger as the size of the child changes. I learned the hard way: do NOT reverse these two and make the scratchy (hook) side be bigger than the fuzzy (loop) side. When you wash and dry these bibs with other laundry, affix the velcro closed (that goes for ANYTHING with velcro), so that it doesn't snag on other things in the load (little girls' tights). If you make the hook side larger, there will be some of it exposed, and it will catch other stuff. Also, I have learned that not all velcro is created equal. I used generic (because I'm cheap) with the first bibs I made. And over time, the hook side just ripped out. It lost it's hookyness and no longer worked. Splurge on real Velcro for these heavily used bibs.


I made my zigzag length a little longer for attaching the velcro. 0.90 on my machine.
Lay the little hook-side piece on the right side of the fabric at the square corner and affix.


Lay the longer loop-side piece on the wrong side of the fabric at the end of the strap part and affix.

Then find a hungry baby and feed them!!!
These bibs are totally fine in the washer and dryer. I run them through with whatever load is going in at the time. At under $2 apiece, a few of these great bibs would make a great baby shower gift, made with love!
NOTE: You wouldn't HAVE to zigzag the single-layer edges. You could just stitch the curved sides of the pocket to the bottom of the bib, and leave the rest of it bare. I did try this to see what would happen, and it's fine. Even washing and drying. The PUL-coating prevents the edges from fraying like regular fabrics would. However, it is MUCH cuter with the zigzag fully all the way around. Proceed as you feel led!
Great tutorial. Trying to make raincoat for my dog out of this fabric. Do I stitch a line of reinforcement then clip the neck. It bunches up on the curve.
ReplyDelete