
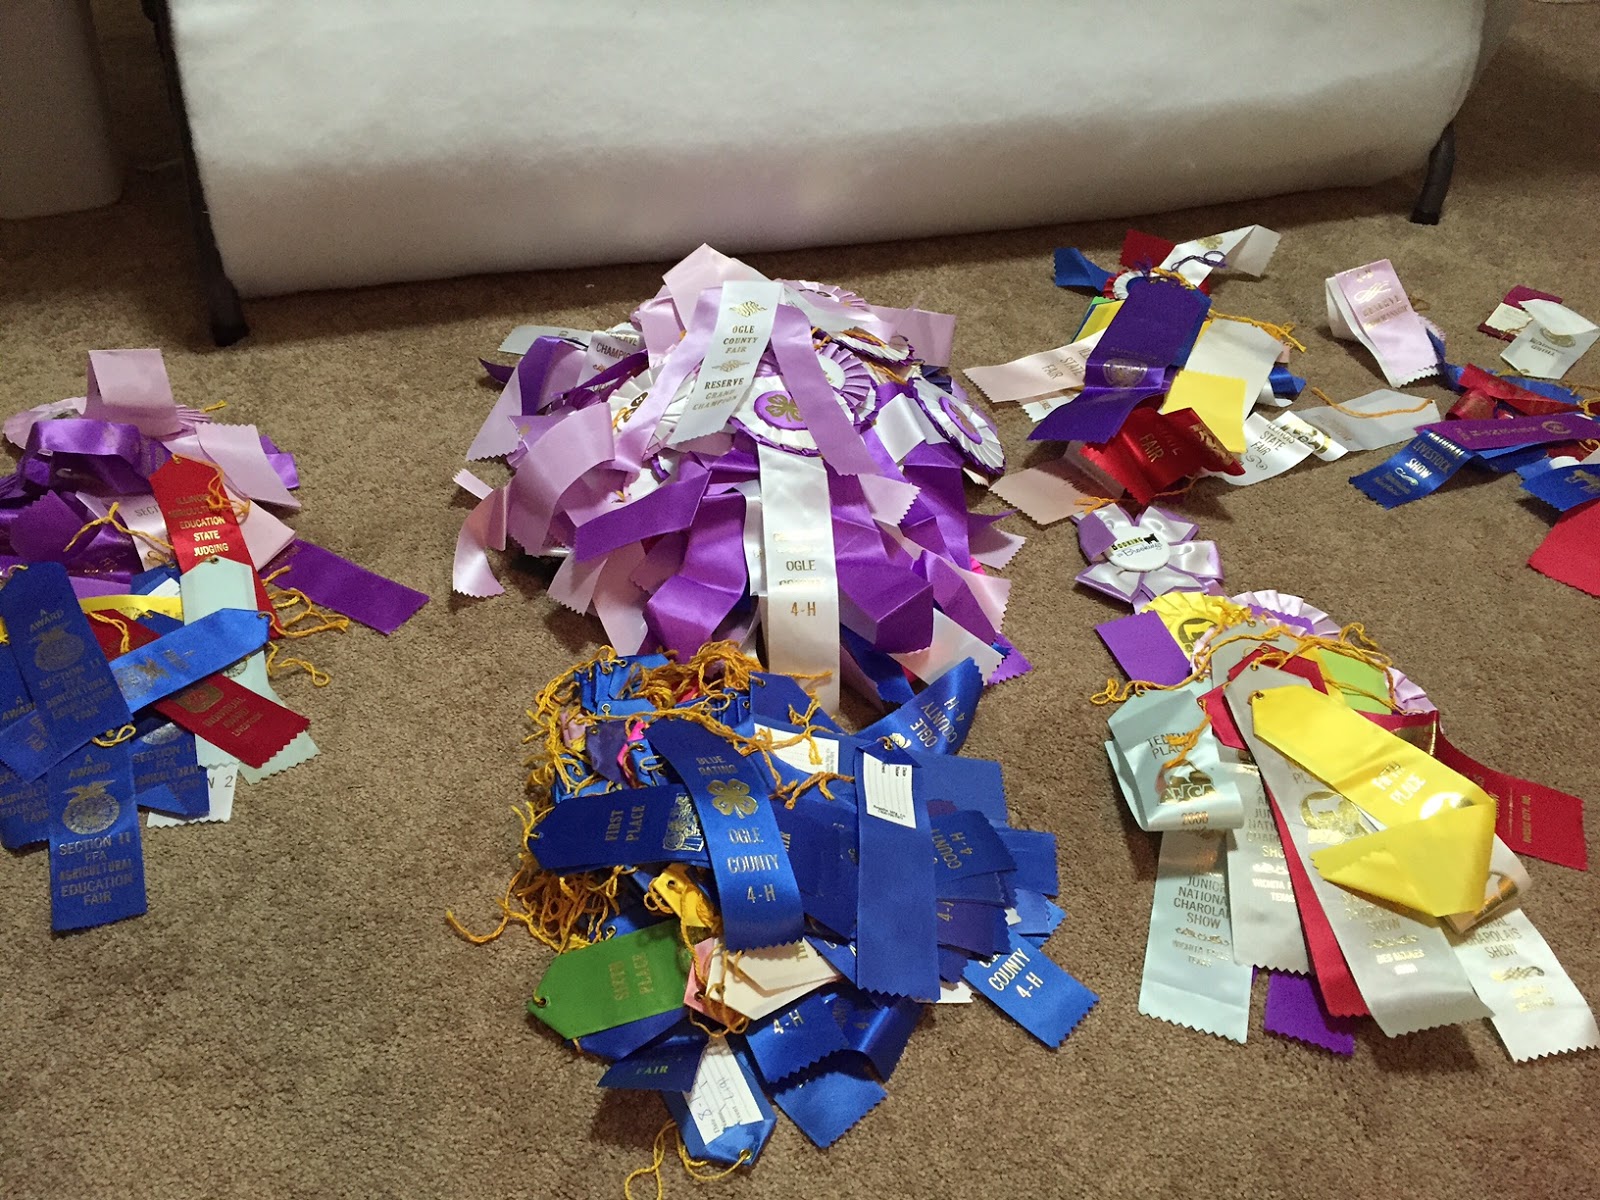
Emily sent me all the ribbons and rosettes that she'd saved up during her career in 4-H and FFA - most were livestock show ribbons, but there were also ones for public speaking, dairy cattle judging, volleyball, and so many more! I gave Emily a hard time, because the more colors there were, the more interesting the quilt would be. But most of hers were blue (that's a good problem!).
Interesting sidebar: did you know that in Canada (where I now live), first place ribbons are often RED and second place are BLUE? I was so honored to see a red ribbon on one of my quilts in the Calgary Stampede last summer, and didn't even notice it was for FIRST place until someone else told me. It's just the opposite of what I grew up with, showing livestock in the USA. I'm told it's the British influence.
This piece ended up being approximately 40" x 50", and it incorporated 185 ribbons. It is NOT a cuddle quilt. It is well suited as a wall hanging or perhaps a table runner. But it will not make a good lap throw or bed quilt. The stiffness of the ribbons makes it almost cardboard-like. Plus, because these ribbons represent priceless memories, I wouldn't want to try and use it anywhere that it would get prone to lots of handling (oils from your skin) or grime. If it got dirty, you might be able to spot treat, but there's no way you'll be able to through the whole thing in the washer.

I started by sorting the pile into "kinds" of ribbons. Her county fair had the most volume, for sure. Then there were the national-level shows. FFA competitions. State fair and other county fairs. And a few odd-balls, too. I wanted to try and show a cross-section of her show career.
I affixed the ribbons with a temporary bonding agent, then moved over to my domestic sewing machine to stitch them on. I was NOT able to use my long arm quilting machine for this project, but I welcomed a change of pace. I started at the center and worked my way outward, bonding then sewing four ribbons at a time.


I zigzag stitched over every edge with mono-filament (clear) thread, so all you really see is ribbons, ribbons, ribbons!

There's not a single solitary raw edge in the whole quilt. I designed the layout specifically so that every cut edge would be covered by a factory-sealed edge of another ribbon. It kinda ended up like a basket weave layout.

Even if they were buried under other ribbons, I was so worried about the cut edges fraying out. I did several experiments with various techniques (including Fray Check - my mom's old favorite for EVERYTHING). The one that came out on top for me was to cut with a pinking (zigzag) blade, and then melt with a lighter.

A lot of the junior national ribbons had the show's location (which changes from year to year), and I thought that was super cool. It was like a mini-geography quiz!

The predominant color of the quilt was blue, so I used solid blue cotton fabric for the binding. I tried blue satin, because I thought the satin's sheen would really play well with the shiny ribbons, but the satin was way to loosey-goosey to work with. I cut one strip and tried ironing it in half, and gave up immediately!

Backside of the binding.


Back side. You can kinda see the "based weave" layout.

Even after using 185 ribbons, there was still a MOUNTAIN of ribbons leftover. Many of which were actually rosettes in purple/pink/white. Emily okayed me to make another smaller piece with just those colors, because I wanted to see how it would turn out. And even after THAT, there were still TONS of ribbons left!


For this smaller piece, I experimented with using ribbons as the binding fabric. I'll admit, I'm nervous about it, longterm. I'm concerned about the junctions, where I pieced two ribbons together and then pressed them open. I really hope they don't fray out. Those ribbons are just so doggone STIFF!


Back side of the ribbon binding.

Hoping my girls earn ribbons of their own some day!

What a neat piece for any 4-H Gal. Nice work
ReplyDeleteWhat a terrific idea - I have tons of swimming ribbons - four kids swam competitively for many years!!!!!!! and of course Mom has all the "treasures"!!
ReplyDeleteThank you for all the info and detail! I have some questions. When you laid the ribbons together did you overlap them...and you said you used q temp bonding agent?? What is that? Im new at this and attempting for my daughter. Thanks
ReplyDelete