
This is another quilt of my own. I love the fast pace of quilting for clients, but I'm excited that I get to KEEP this one! I purchased the quilt top pattern as a kit from Craftsy.com in August 2014. I didn't get around to piecing it until almost a year later. By then, I had placed my order for an APQS longarm quilting machine and anxiously awaited it's arrival. The whole time I was piecing this quilt top, I was imagining how I would quilt it. Very pleased with how it turned out!

Here's how I started. I printed the straight-on view of the pattern and sketched out what I envisioned.

Here was a preliminary idea that got ruled out.

I started by stitching-in-the-ditch (SITD) throughout the whole quilt from top to bottom, to outline various areas and tack down (aka: baste) the quilt sandwich. I used two layers of batting - bottom layer: Quilter's Dream Select, top layer: Quilter's Dream Poly-Down - so I was worried about all those layers sliding around. It was super puffy! I didn't happen to snap a shot after all the SITD.
Here's a photo after the NEXT step, which was to add what I'm calling "tire treads", working my way back through the quilt from bottom to top. They were long lines that ran adjacent to the four large diamond-shapes in the piecing pattern. It was a "wishbone" motif with accompanying echo lines.

The next step was to come back through and fill in the background space with concentric swirls and pebbles. I used the grey triangles in the piecing as inspiration and left mirrored triangles unquilted. They are puffed-up and really give great texture!

At this point, I started out a new day of quilting by de-linting and oiling my machine, as usual. Except this time I forgot to run several thread-less stitches through scrap fabric before getting back into my quilt. Machine oil on white fabric - crap!

Several quilting facebook-friends recommended cornstarch to absorb the oil. I sprinkled/dabbed it on and let it set while I quilted the rest of that throat-space. I should have let it sit on there longer, but I wanted to roll up the quilt to keep quilted, so I used a clean brush to removed the cornstarch. Better, but not gone. Darn.

Other quilters recommended blue Dawn dish soap. I dabbed it on with a Q-tip, then removed the soap with water on a Q-tip. This is what it looked like after drying. Pretty good. I don't think the average onlooker will notice. I consider it one of life's lessons to SLOW DOWN and think about what you're doing!


Made it all the way back to the top of the quilt, finished with tire treads and background filler.

Next I started doing a lot of ruler work in the large diamond shapes (in the piecing). Parallel lines are something I've come to really like. For a long time, I felt guilty using straight lines. Like I wasn't being creative enough or working hard enough or something. But it's such a clean look, and juxtaposed against more swirly-whirly motifs, parallel lines can really be striking. Plus, I'm galvanized by a lesson learned from one of my quilting role models (Kathleen Riggins - www.kathleenquilts.com): Straight lines are a legitimate choice.

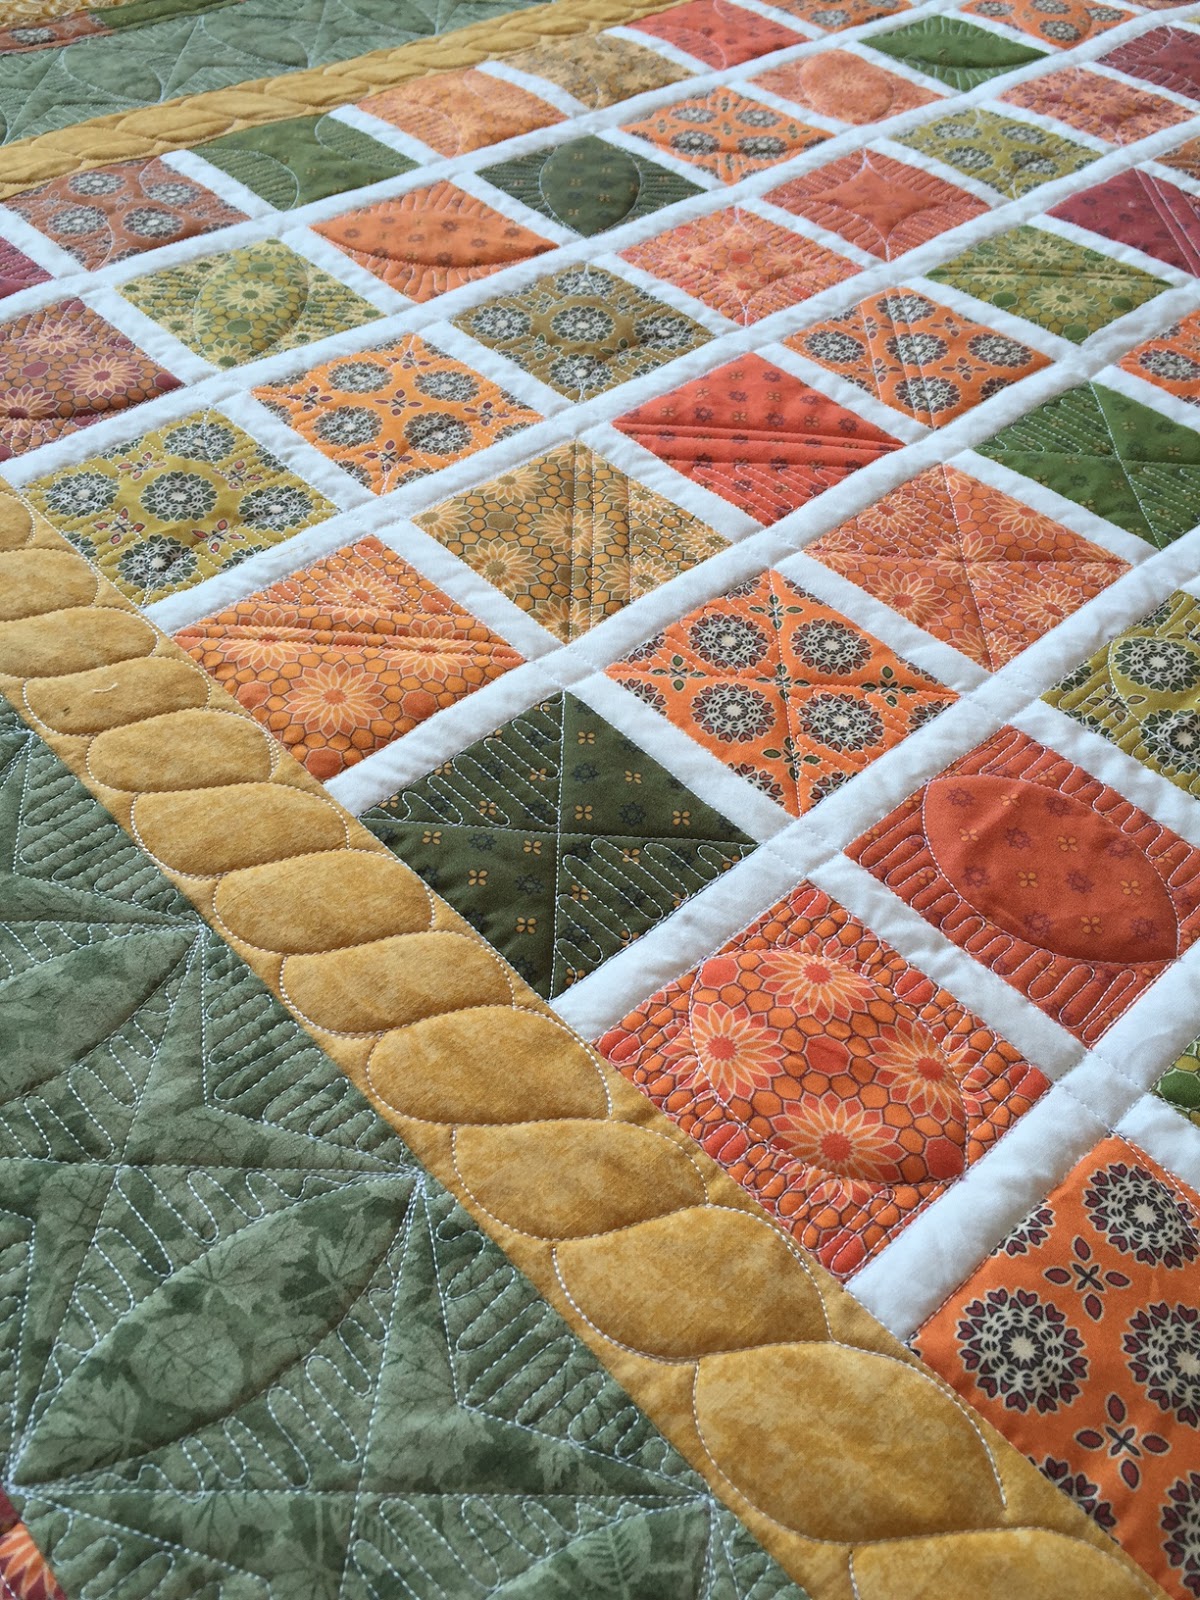
Within those parallel lines, I used varying sizes and distributions of ribbon candy, pebbles, serpentine (aka: back-and-forth) and McTavishing (looks like ocean waves).


Quilters always love the back side.


Here's my one (most-glaring) mistake. I accidentally filled in a triangle that was supposed to be open. I call it my "Amish mistake". I've heard that Amish hand-quilters (admired the world-over) purposely stitch a mistake into each of their quilts, to acknowledge that only God has the ability to make perfect things. I didn't actually make this mistake on purpose, but I'm not telling anyone that! Shhhh!

And here you can see my Amish nod on the front... Someone asked if I thought about ripping it out. And the answer was NO WAY - even if it had been a client quilt. There is a big community these days, known as the modern quilt movement, and this is just the kind of asymmetry funky-ness that they'd like. I think it's quirky and endearing, and I actually kinda love it.


Pardon the over-share of copious photos. Good thing Blogger doesn't charge by the image.


And... hold your breath... after binding, it lays perfectly flat! Yayyyyy!


Follow-up: A couple of people have asked - this quilt took me 25 hours for the quilting alone. I timed it.


